Initializing the Worker instance
- Access the “Adminland”
- Create a New Service Token
- Configure the Worker on your Chart
- Applying the Configuration and Monitoring
Once the API and Web UI are working and you were able to login into your brand new instance, it is time to configure the Worker to be able to get and process jobs.
Every internal component requires a Service Token in order to be able to connect to the API. The only exception is the Web UI, since it performs actions on behalf a user. So the first step to setup the Worker, is to provision a Service Token exclusively for it, and store that token in a safe place.
Access the “Adminland” #
The first step is to login into your instance, which you should already have done in the previous section. The first user to login into a new Cocov instance is automatically given administrative privileges, which means that you should see in the top bar an option to access the Adminland.
Adminland is a special area that allows administrator to perform specific and possibly sensitive operations. In this case, we will be creating a new Service Token. Click “Adminland” on the top bar.

Create a New Service Token #
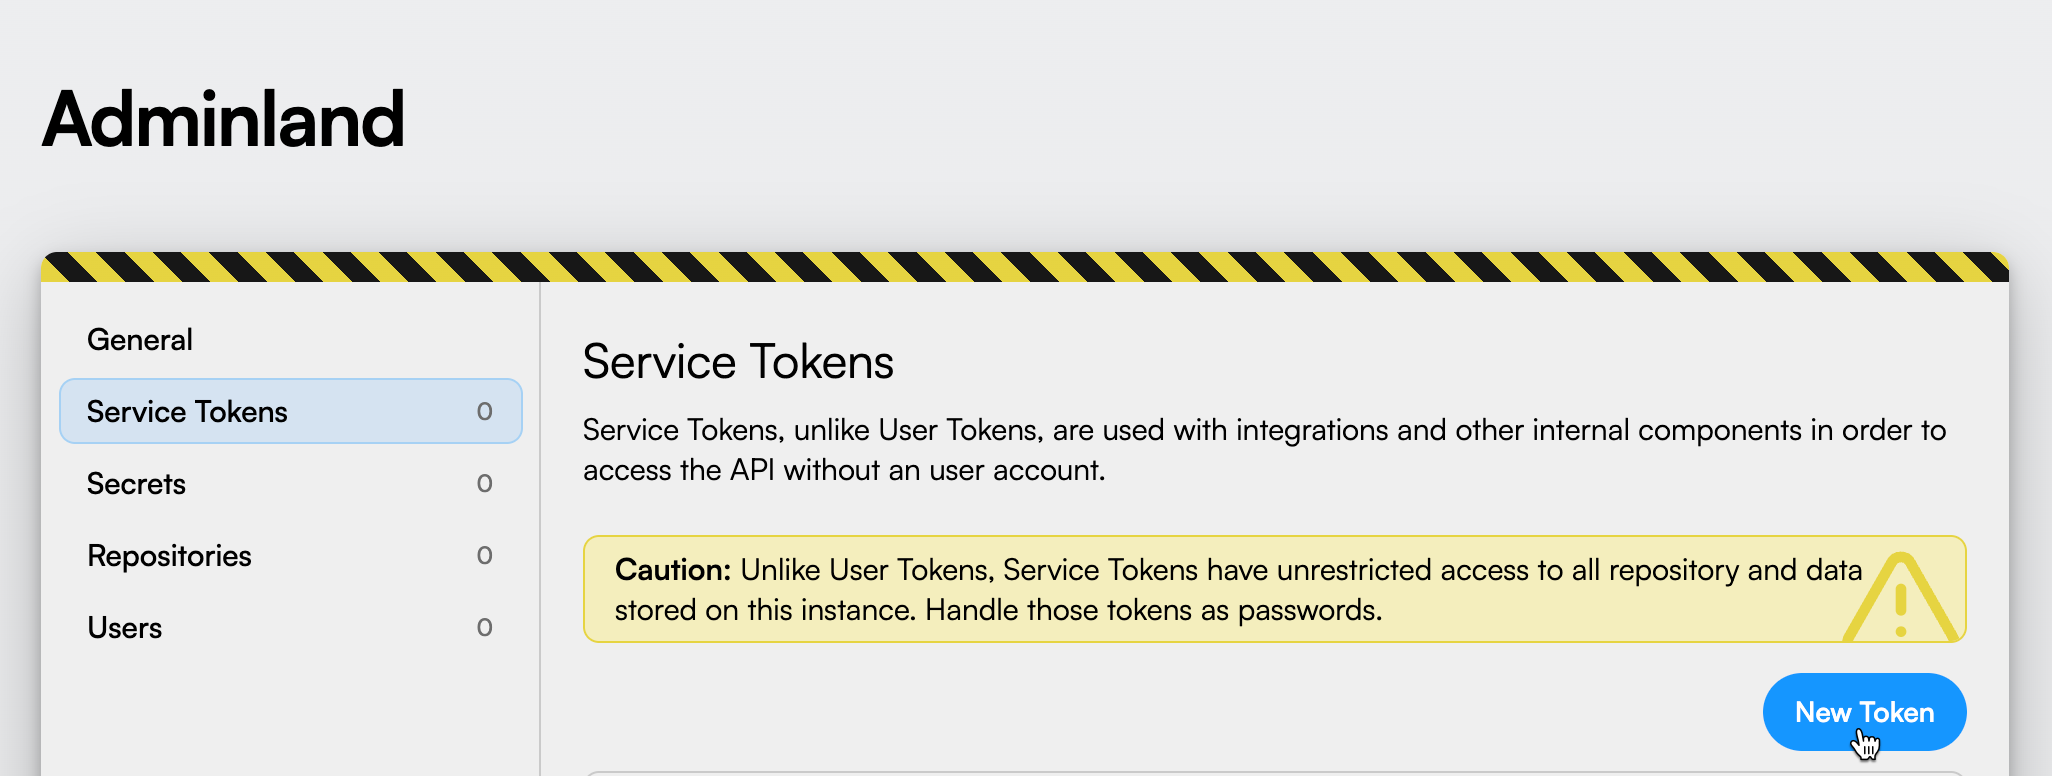
Once into the Adminland, choose “Service Tokens” on the left sidebar.

Finally, select “New Token”:
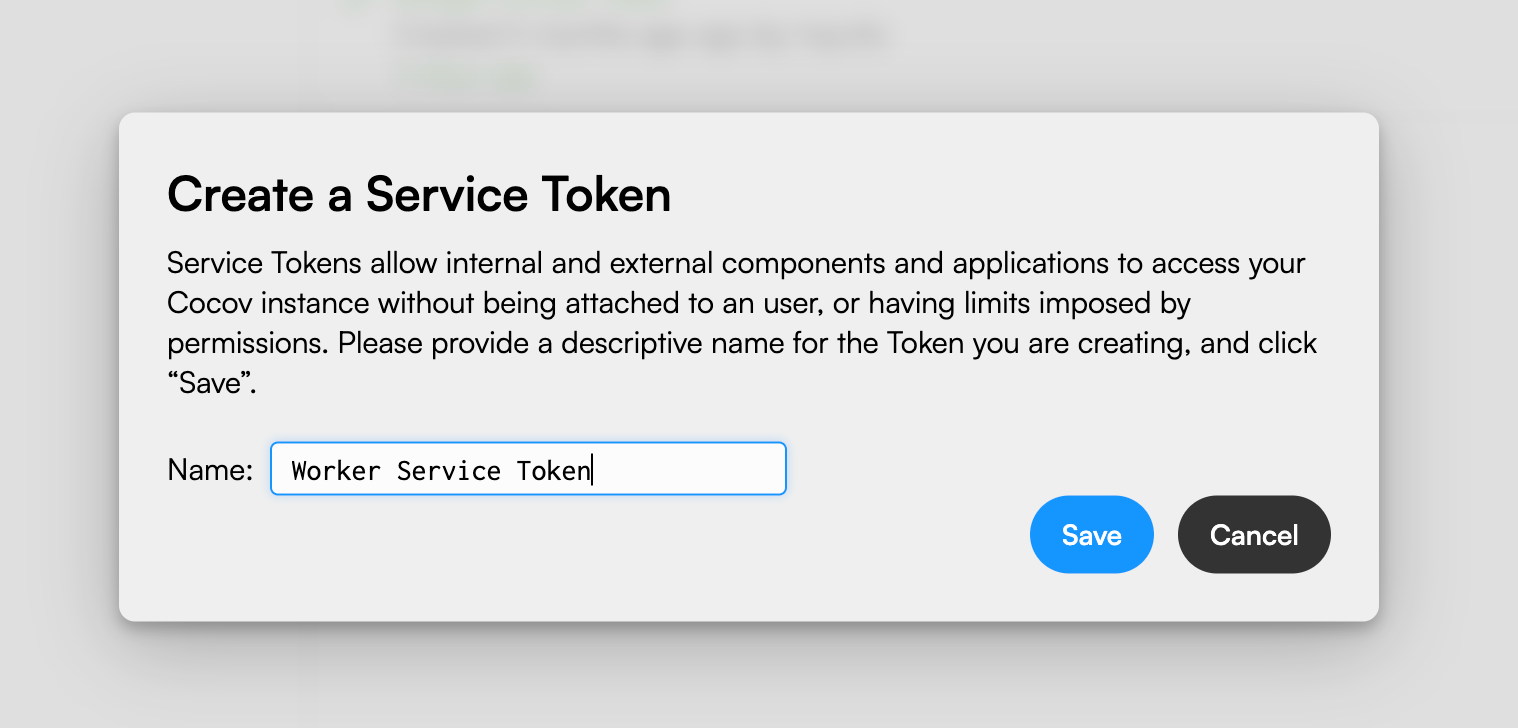
Provide a descriptive name to the new token. Something like “Worker Service Token” should be enough. Finally, click “Save”.
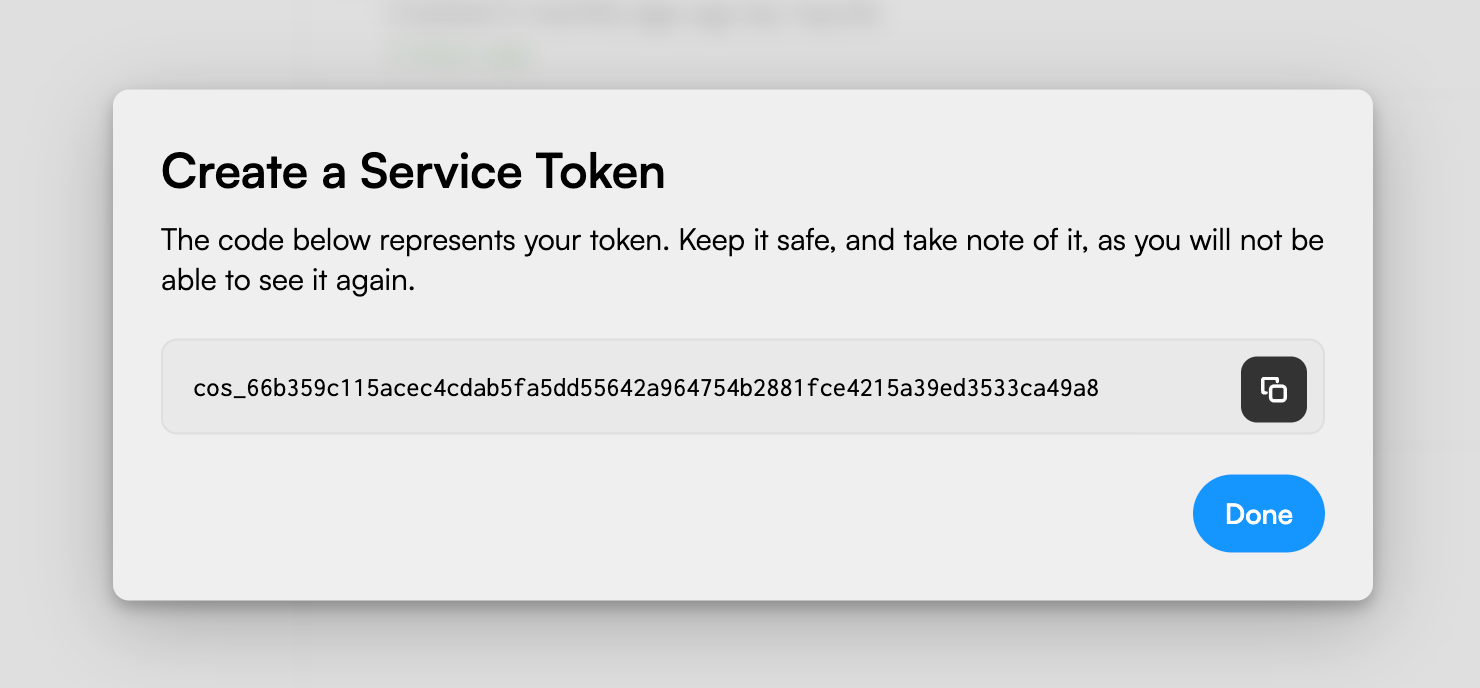
Once the token is created, you will be presented the token’s value. Remember that value is highly sensitive and provides unlimited access to all your instance’s data. Store it in a Kubernetes Secret or in your cluster’s vault.
Configure the Worker on your Chart #
The only required key is apiToken, but all others will also be noted as this
deployment contains a very small set of options that are configurable:
worker.maxParallelJobs
#
This key indicates how many commits may be checked in parallel. Each worker
replica will accept at most the number defined here. Keep in mind that
each commit check may spawn an arbitrary number of plugins.
Defaults to 5 when unset.
This value may be provided as a secretKeyRef or configMapKeyRef.
worker.apiToken
#
The value of a Cocov Service Token worker instances will use to authenticate against the instance’s API, as created in the steps above.
This value may be provided as a secretKeyRef or configMapKeyRef, meaning
that the following formats are supported:
Literal values (PLEASE DO NOT DO THIS) #
1
2
3

cocov:
  worker:
    apiToken: "coa_00000000000000000000000000000000"
Using a ConfigMap (PLEASE DO NOT DO THIS) #
Warning: While ConfigMaps are useful for storing non-sensitive configuration data, if you have tokens or other sensitive credentials, it’s best to leverage Kubernetes Secrets to ensure stronger security measures, access control, encryption, and auditability.
1
2
3
4
5
6
7

cocov:
  worker:
    apiToken:
      valueFrom:
        configMapKeyRef:
          name: cocov-config
          key: worker.apiToken
Using a Secret #
1
2
3
4
5
6
7

cocov:
  worker:
    apiToken:
      valueFrom:
        secretKeyRef:
          name: cocov-secrets
          key: worker-api-token
Leveraging Kubernetes Plugins #
And of course plugins can be used to inject those secrets from a vault, for instance. Since that heavily depends on your cluster’s configuration, it is considered out of scope of this documentation.
Applying the Configuration and Monitoring #
Once everything is set, update the configuration by applying the updated chart, and observe worker pods for their health statuses. Once they boot, your instance is ready for processing checks. The next step if you are doing a minimal installation is to configure a repository to use Cocov, but you can also enable the badger service.